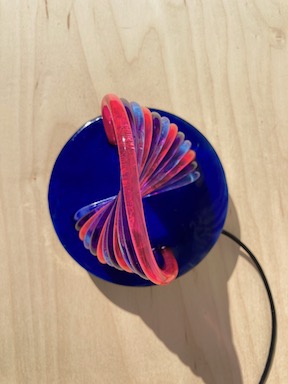
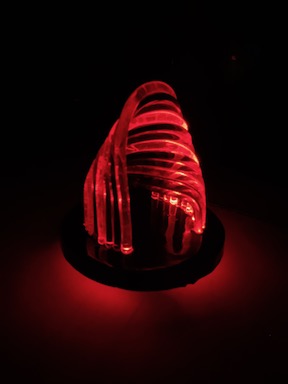
The acrylic rods were heated and bent to create the sculpture. The base that the acrylic rod sculpture sits on is made out of wood and covered in epoxy resin. LEDs are placed underneath the base, with one LED under the end of each rod. The LEDs are programmed with different lighting animations and color settings. There is a button, which when pressed, switches between the different lighting animations and color settings. The LEDs are programmed using an Arduino Pro Mini.
A role of mine at Sticky Art Lab includes independently coming up with art projects and working with children to facilitate their involvement with the projects.
An intention behind my involvement with Sticky Art Lab is to facilitate human growth and creativity.
Below is a list of projects I came up with and facilitated at Sticky Art Lab:
Jungle Boogie is an installation created for the Children’s Discovery Museum in Normal, Illinois. The installation is directed at a young audience with the intention of creating a fun, interactive game where children are encouraged to create a song using various animal sounds made at the touch of a button. The installation was created by a group of eleven people, including myself. Jungle Boogie was constructed in various layers. One group member created the board in which the children will use to press the buttons to create a song. Two members and myself created the buttons that are pressed by soldering wire to pressable buttons and connecting them to a Makey Makey. The Makey Makey was then connected to the program Processing, which another group member and myself programmed. A group memeber then created the sounds of various animals using Ableton Live so that they can be layered over eachother to make a song. We inserted the sound files into Processing so that they can be played on the command of the press of the button connected to the assigned sound file.
Work in progress interactive musical installation with an accompanying narrative and puzzle-like experience. Acrylic structure contains LEDs, amplified sound, and small computers.
Generative audio system built in SuperCollider. Central state store in Node.js with Redux. Node.js process also receives button signals from Arduino and animates LEDs.
Infinity cube light sculpture dimensions are 6″ x 6 “. The LEDs are programmed using Arduino. I used a RedBearLab Blend Micro board to store and execute the Arduino program. I programmed six different animations; I attached a button to the outside of the cube to switch through the different animations.
I facilitated a day-long computer music camp. We created instruments
that use capacitive touch to generate sound from the computer. I
created various sounds for the participants to choose from, and each
person chose up to five sounds for their instrument. Each person made
independent capacitive touch sensitive areas on their instrument; we
assigned one sound per capacitive touch sensitive area. I used the
program Processing, and an Arduino Uno to trigger the sounds when the
body makes contact with a capacitive touch sensitive area on the
instrument. Some materials used as a conductor to trigger sounds
include graphite, copper tape, and conductive metal objects, such as
cans, paper clips, bottle caps etc.
After we made our instruments, we got into small groups and created
music together. I recorded the audio for each group music making session
to give to the participants.
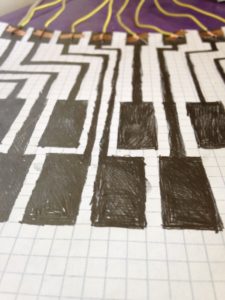
Graphite is being used as the conductive material for this instrument
Each
individual yellow wire is connected to it’s own Arduino pin; we
stripped the other end of the wire to make metal to metal contact with
the wire and the capacitive touch sensitive area on our instruments.
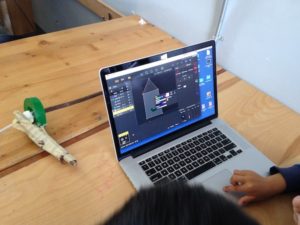
I facilitated a week long projection mapping camp. The intention for the camp was to collaborate in small groups to perform a story using projection mapping as the medium. Each group came up with a story to tell for their performances, then spent the remainder of the week developing computer animations and props to project animations onto. At the end of the week, each group put on a final performance.
Creating computer animations
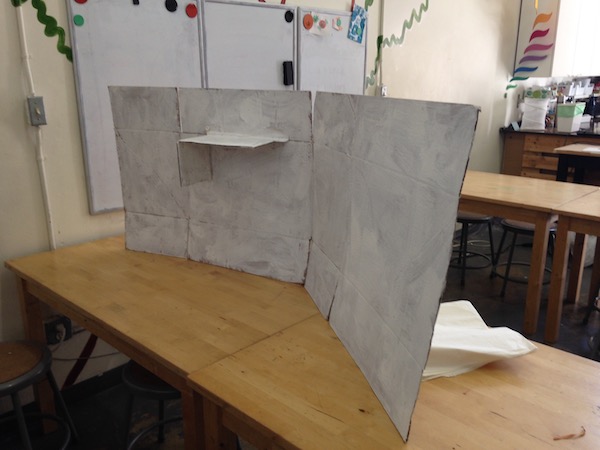
We built props and painted them white to project our animations onto
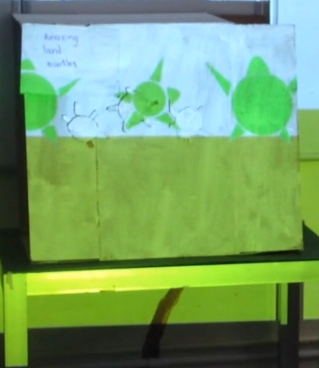
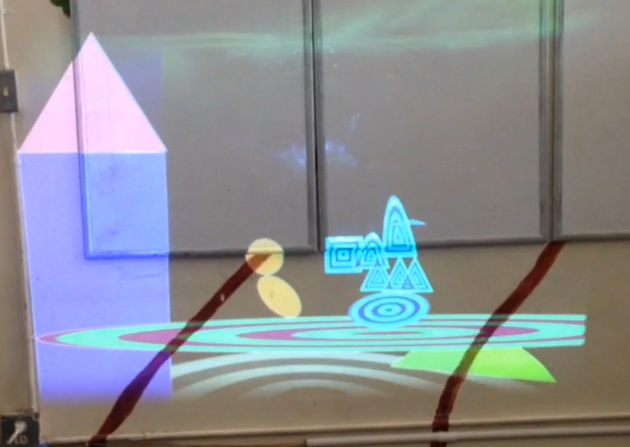
Animations projected onto white props for performances:
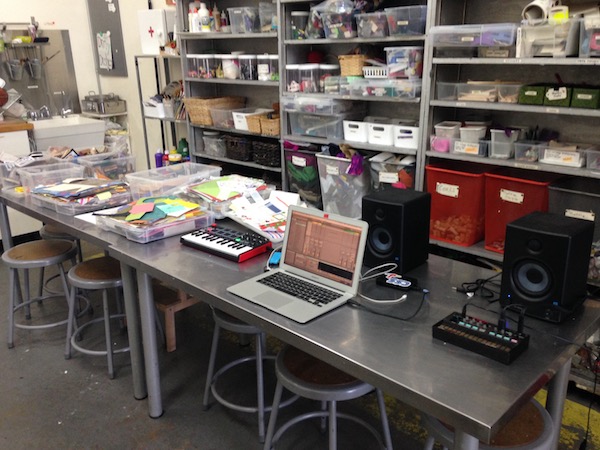
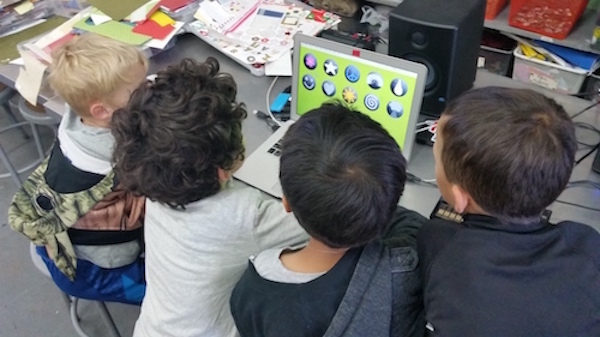
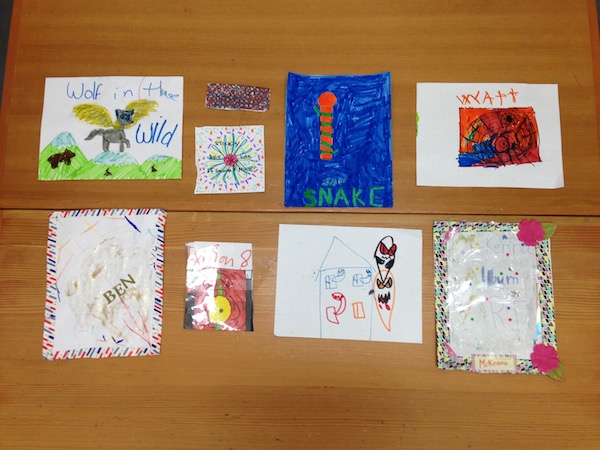
I facilitated a day-long computer music camp. The intention of the camp was to facilitate interactive collaborative music making among the participants. I set up various computer music making tools for the group to choose from. The participants in the camp got into small groups, and used the various computer music making tools to create their own music. I created a digital interface using the program Processing, which is comprised of 10 buttons; I programmed each button to play a different sound when pressed. I also set up a midi keyboard, including a library of sounds to play with the keyboard, and a digital synthesizer. Each group took a turn making music together, using the various tools available. I recorded each musical session and uploaded the audio files to the internet. The groups made their own ‘album art’ for their tracks, and I included a link to the audio files on the album art.
Computer music making set-upProcessing sketch comprised of buttons that play sounds when pressedAlbum art
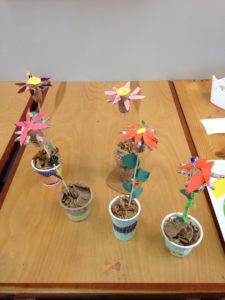
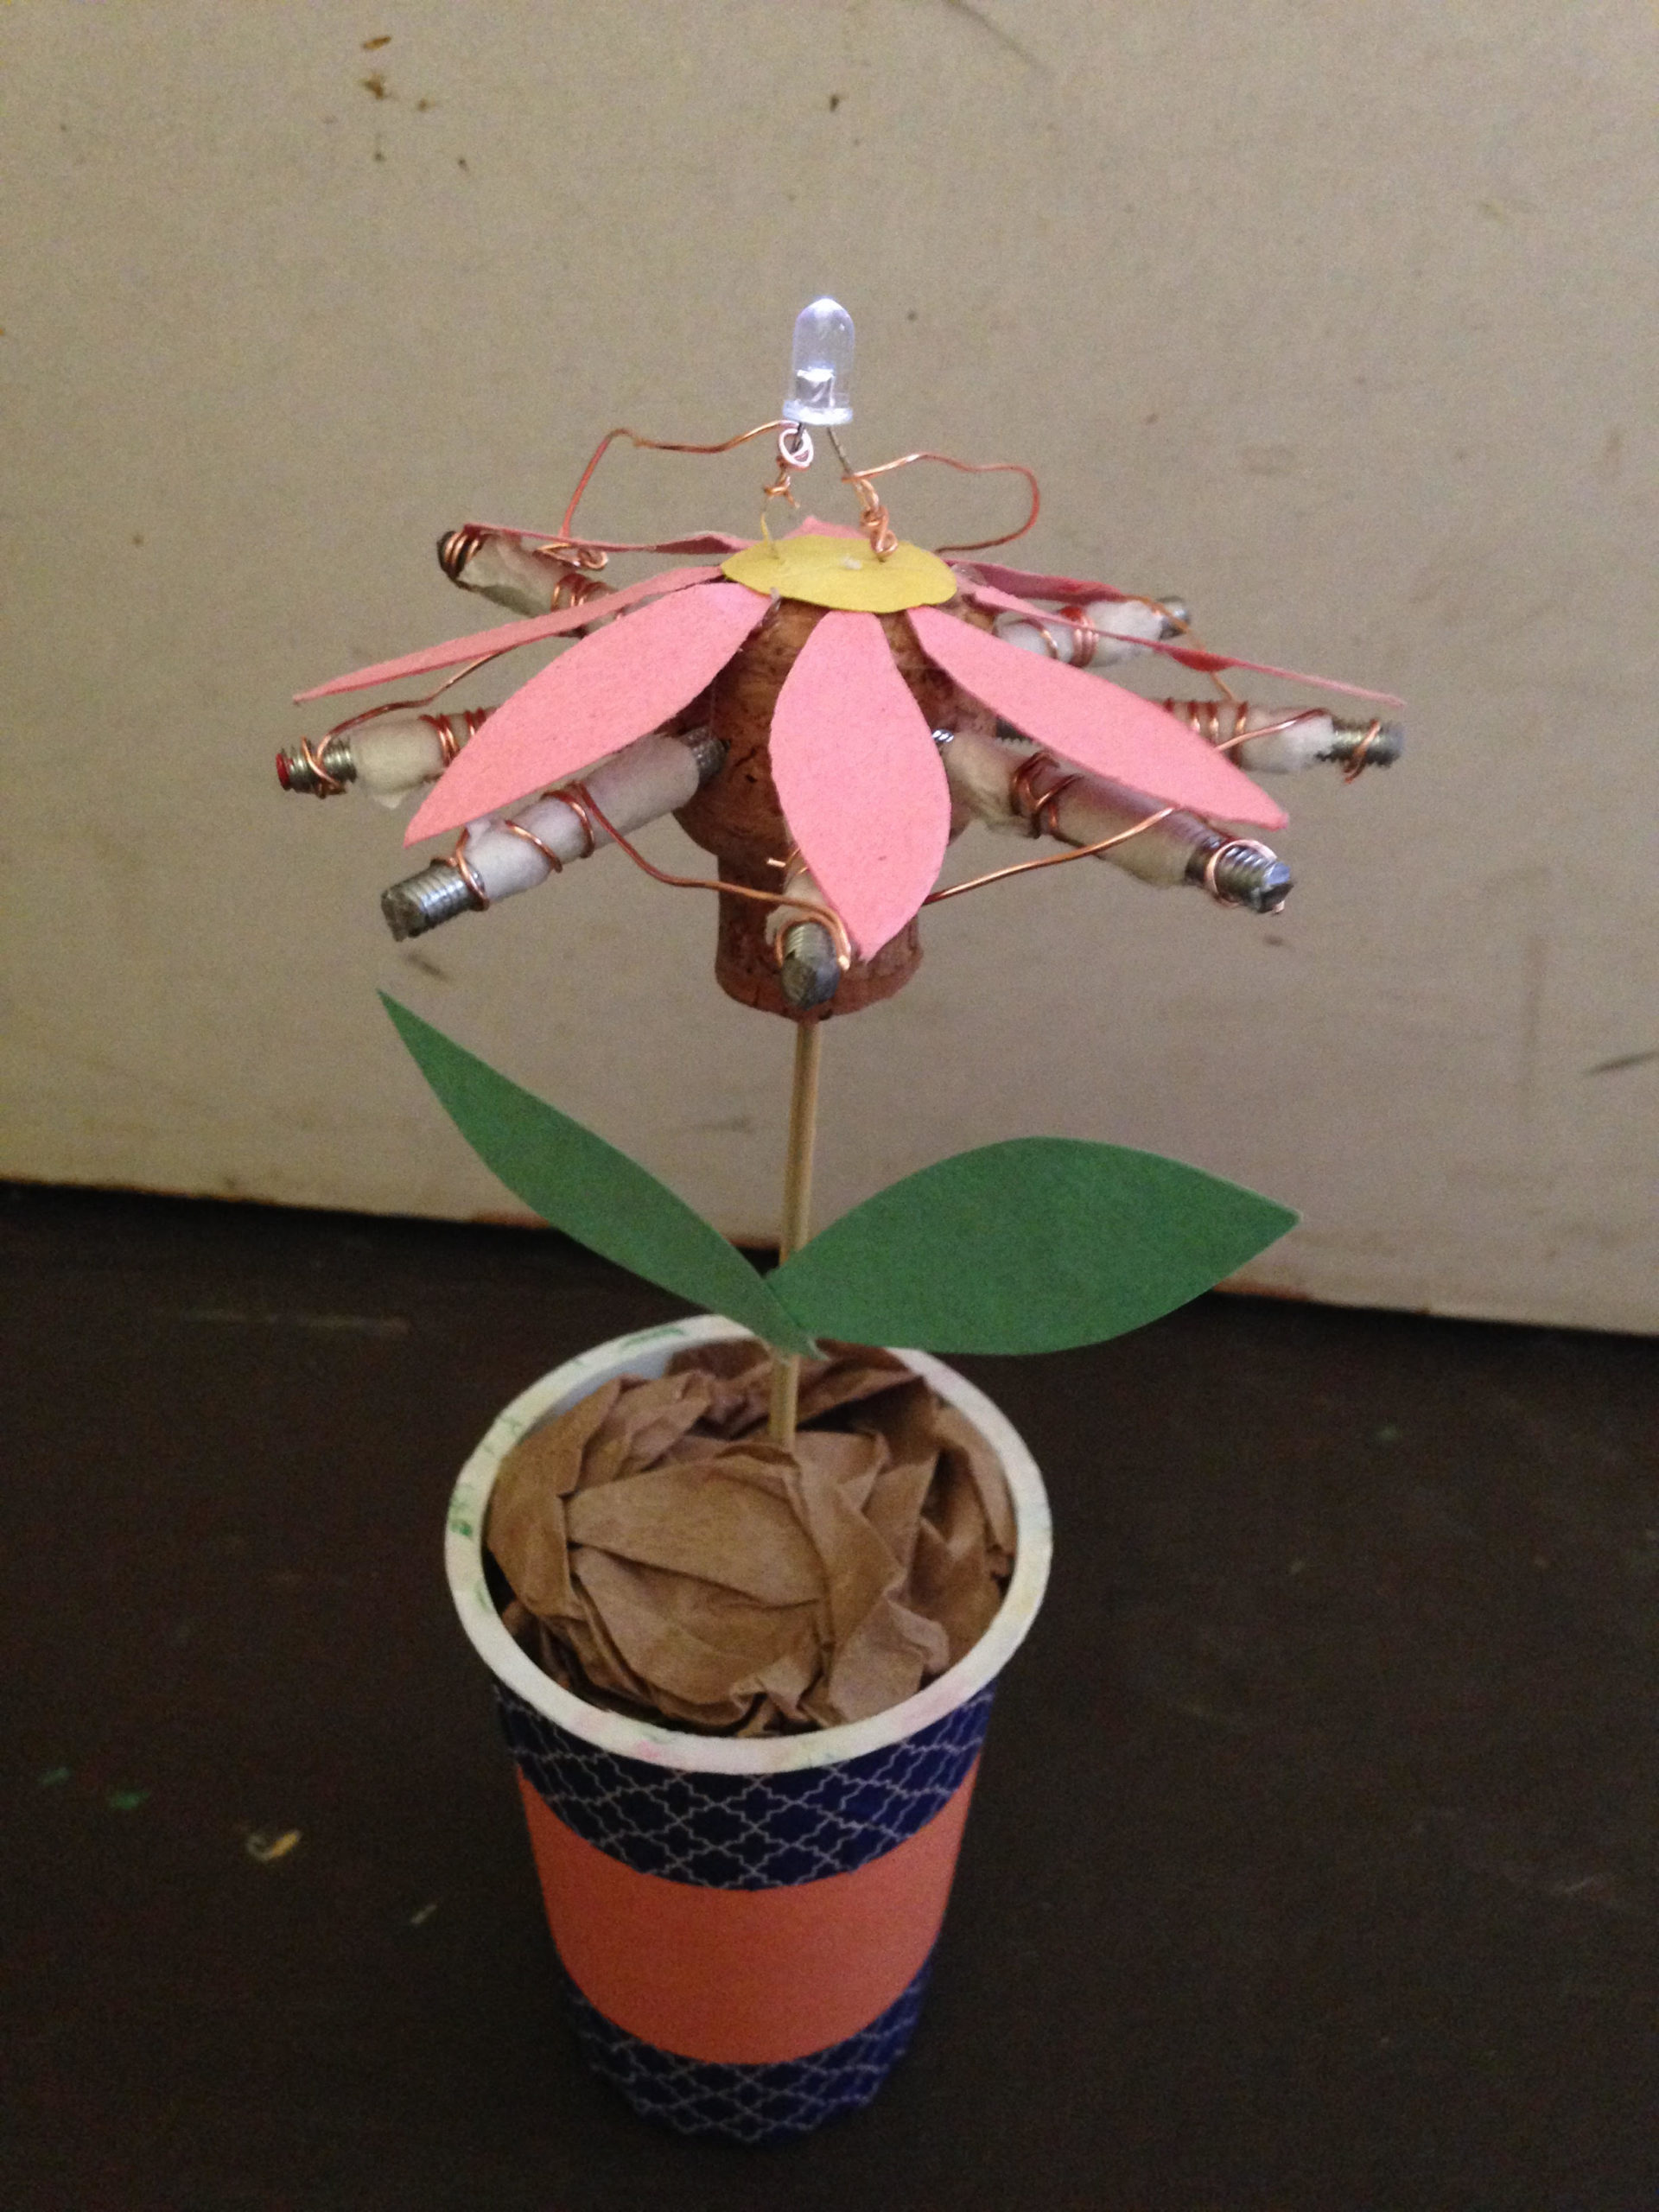
I facilitated a day-long lemon battery circuit camp. We created circuits that light up an LED using lemon juice. The circuits were built using copper wire, zinc rods, an LED and paper towel. I prepared 1″ pieces of zinc rod, pieces of paper towel and 3″ pieces of copper wire. We each inserted 8 zinc rod pieces into the side of a cork. We wrapped the paper towel around the zinc rods and then wrapped copper wire around the paper towel. Copper wire made the connection between each zinc rod and the LED. To make the LED light up, we dropped lemon juice onto the paper towel pieces.
Each person created their own art project around the lemon battery circuit.
Some examples of ways in which the circuits were applied to art projects
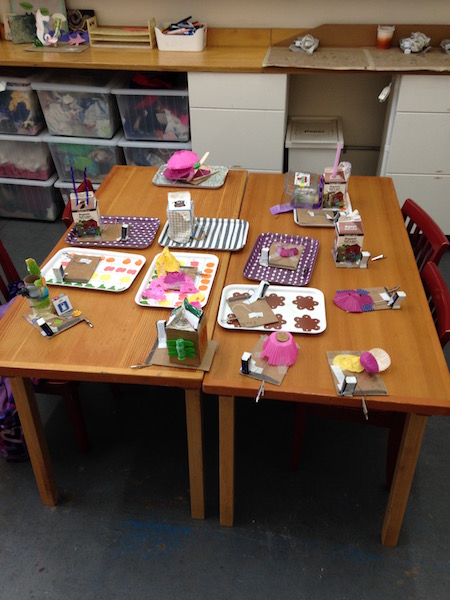
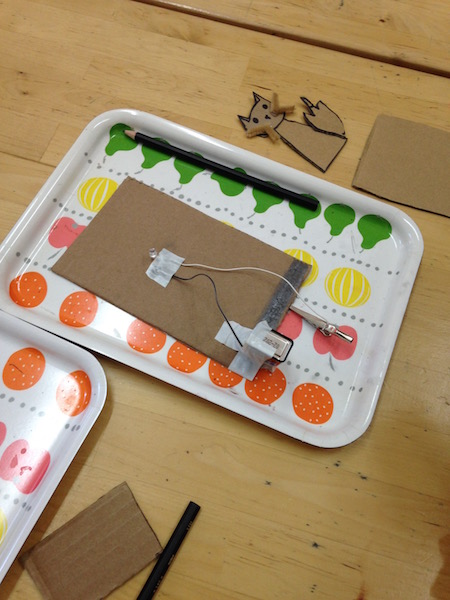
I facilitated a camp where we learned how to make a potentiometer circuit using graphite from a pencil, an LED, a 9 volt battery, wire, and an alligator clip. The circuit allowed for the brightness of the LED to be adjusted. We incorporated these circuits into our own art projects.
Some of the finished projects
The circuit: The LED ground is connected to the battery and the LED power is connected to the alligator clip. The battery is continuously making contact with the graphite, and when the alligator clip makes contact with the graphite, the LED turns on. While the alligator clip is making contact with the graphite, the closer the clip is to the battery, the brighter the LED gets.